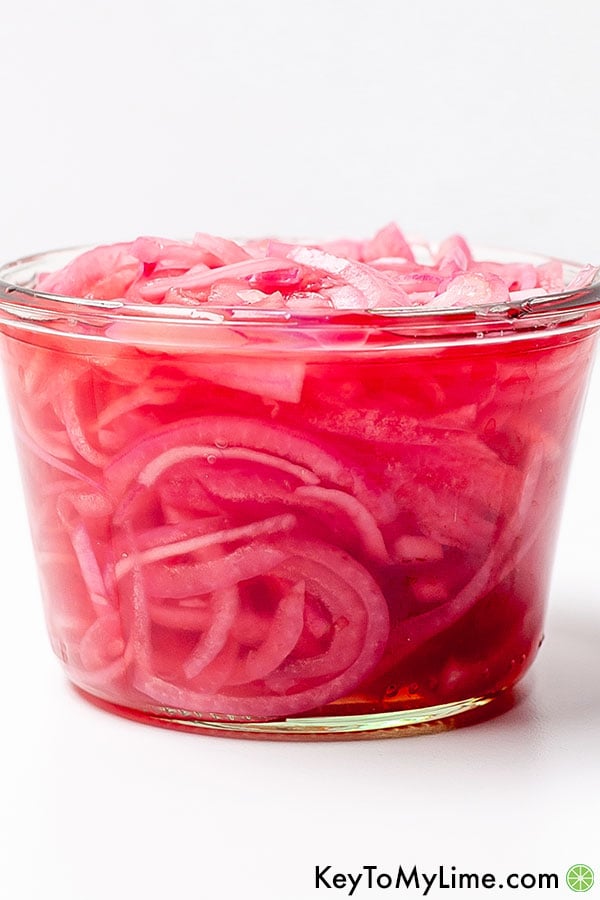
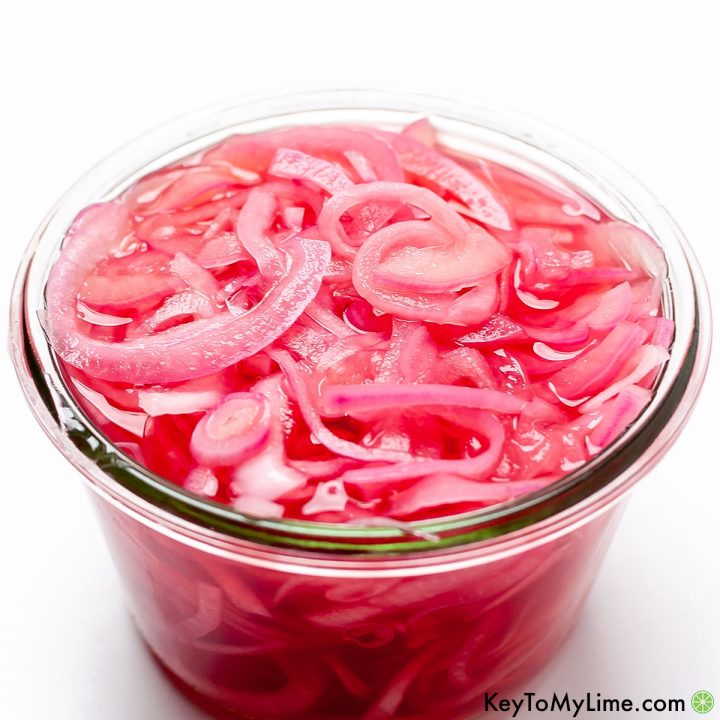
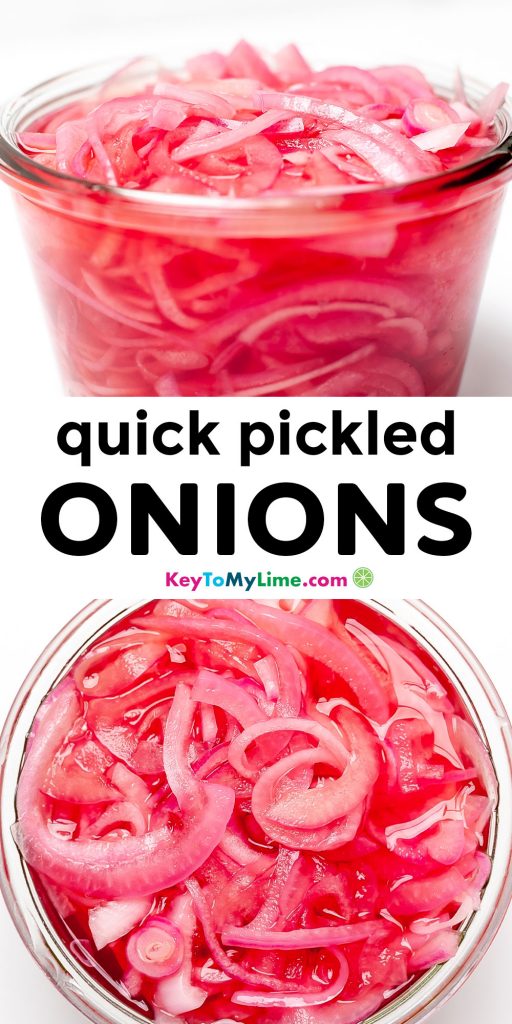
Turn your red onions into the most delicious and gorgeous pink pickled onions with this simple recipe! Once you learn how to make easy and quick pickled onions you’ll always keep a jar on hand to liven up your meals.
Quick Pickled Onions
Something funny happened with this recipe. I actually had an entirely different version of it written and ready to post, and then the day before I was going to post it, I made tacos to drop off at my sister-in-law’s house.
She has two young boys, and I was being very conscious of making kid-friendly food. Instead of making these onions as tangy as I normally would, I made them a bit sweeter hoping that my 4-year-old nephew would actually eat some of them.
After trying this slightly sweeter recipe, made with only apple cider vinegar (no distilled white vinegar), and just a little bit more maple syrup, I fell in love! I kept going back for more of these onions and knew that I’d stumbled upon our new go-to version of it.
And yes, Cooper did eat them! Win-win in my book.

How To Make Them
1. Slice the Onion
The main key with this recipe is to slice the red onion very thinly. You’re looking for the onion slices to be about 1/8″ thick.
Thin slices are what allow the onions to absorb the liquid quickly. If you cut them thicker, or close to 1/4″ thick, they’ll be crunchier, but they’ll need a few hours to fully absorb the vinegar.
I recommend using a sharp knife because it would very hard to get the slices as thin as you need them to be using a dull knife. You could also use a mandoline slicer.
Here’s a helpful YouTube video showing you how to properly slice an onion.
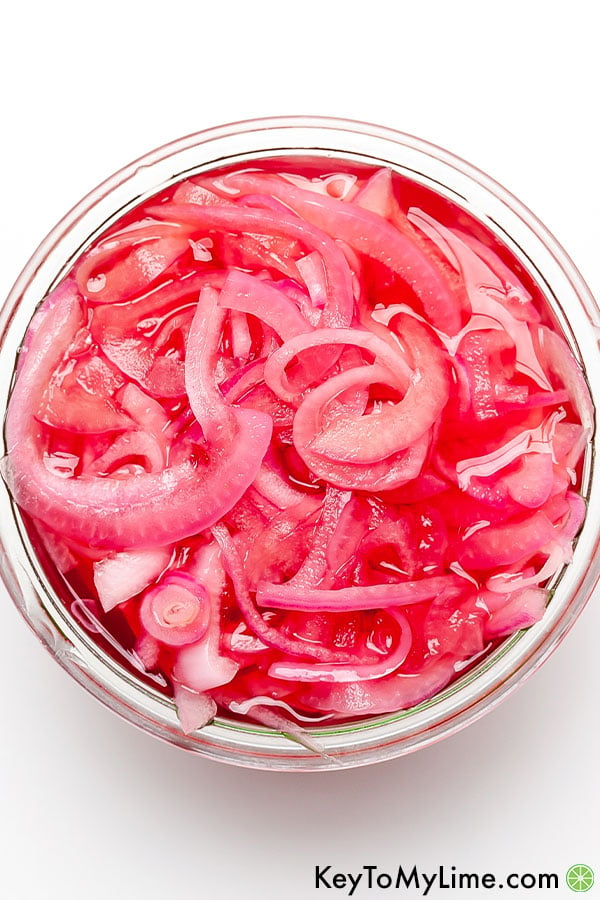
You can also slice the onions into thin rings if you prefer that over the half moon shape.
2. Make the Pickling Liquid
Start by running your hood vent (this recipe can make your kitchen smell like vinegar).
Simmer the pickling ingredients over medium heat. Make sure that the salt is completely dissolved.
3. Make the Pickled Onions
This step is best done in the sink (just in case any liquid splashes, so you don’t end up with a mess). Place the onions in a heat safe jar (like a mason jar), and pour the hot liquid into the jar. Use a spoon to stir the onion slices around to make sure they’re fully coated in the liquid.
4. Let Them Rest
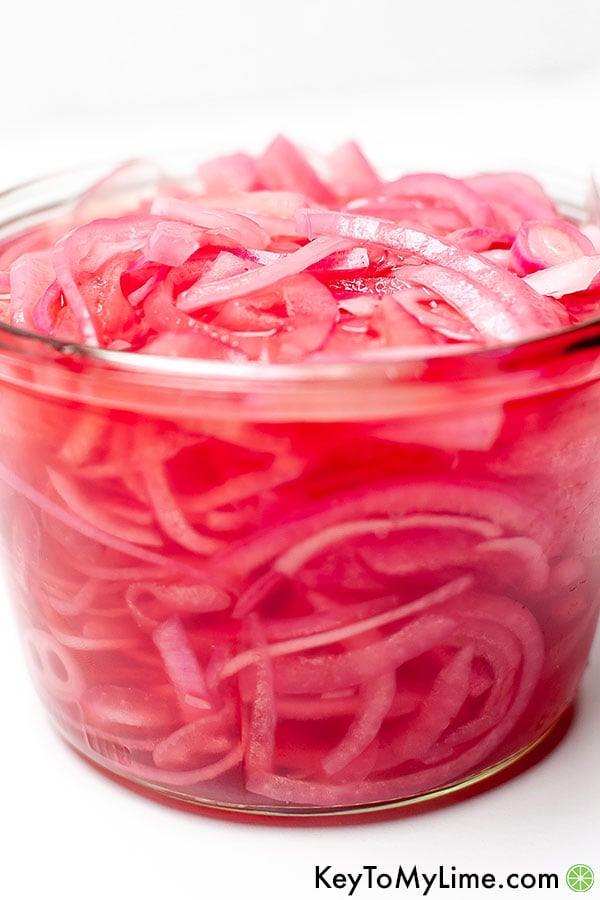
Let the onions sit at room temperature for 30 minutes, and then they’re ready to eat!
Since they only need to rest for 30 minutes, they’re the perfect first step to your meal prep. If you start by making these, by the time the rest of your meal is finished, the onions will be ready to go!
How Long Will They Last?
Assuming they’re stored in an airtight container in the refrigerator, they should last for up to 2 weeks. I think these taste the best for the first 2 to 3 days though.
What To Serve Them With
I think the obvious choice here is tacos. I mean, is a taco even really complete without them? Truth be told, they’ll be delicious on almost all of your favorite Mexican recipes.
Basically anything that you’d want to eat my super popular Taco Bell Creamy Jalapeno Sauce recipe with would taste SO good with these onions.
They’re also super tasty on:
- Burritos
- Quesadillas
- Enchiladas
- Steak Sandwiches (I’m looking at you Panera)
- Burgers
- Salads (leftover pickling liquid makes a great salad dressing)
- Avocado Toast
- Anything Pulled Pork or BBQ Related
Optional Adaptations
I’m seriously in love with this recipe as-is, but it’s a super versatile recipe that you can definitely play with.
Want it more tangy? Use half apple cider vinegar and half distilled white vinegar.
Only have red wine vinegar, white wine vinegar, or rice vinegar on hand? Try using it! The flavor will definitely be different, and you may need to increase the sweetener, but it will work.
If I had to choose between those three vinegars, I would go for a pale vinegar like the white wine vinegar or rice vinegar.
Use your favorite sweetener. I love the taste of naturally sweetened quick pickled onions made with maple syrup, but it will also work with honey, agave, or granulated sugar.
Want it spicy? Try adding in red chili flakes for a spicy kick.
Want more herbs or flavors? Try adding in some dried oregano or bay leaves to the pickling liquid for more flavor.
What Else Can I Quick Pickle?
If you don’t have any red onions, you could use another onion. I think a sweet onion, like a Vidalia, would taste the best. It won’t be that gorgeous vibrant pink color, but it will still taste really good.
If you use a more pungent onion, like a white onion or a yellow onion, you may want to add more sweetener.
Another great option would be to pickle shallots! You can use five to six shallots to replace the red onion in this recipe.
If you’re looking for something a little different, you could even try quick-pickling cucumbers, jalapenos, peppers, carrots, or pearl onions.
Is It Gluten Free?
Yes, this recipe is naturally gluten free as it’s written. If you use an alternative vinegar, you’ll need to check to make sure that the vinegar you’re using is gluten free.
Is It Vegan?
Yes, this recipe is vegan as it’s written. If you need this recipe to be vegan, be sure to use maple syrup, vegan granulated sugar, or agave as the sweetener. Honey is not vegan.
Taco Toppings
If you’re looking for more delicious taco toppings recipes, be sure to check out our Mexican recipes category!
Some reader favorites are:
- Copycat Taco Bell Quesadilla Sauce
- Creamy Jalapeno Sauce
- Copycat Pollo Tropical Cilantro Garlic Sauce
- Restaurant Style Salsa
- Cilantro Lime Sauce
4-Ingredient Quick Pickled Onions Recipe
Turn your red onions into the most delicious and gorgeous pink pickled onions with this simple recipe! Once you learn how to make easy and quick pickled onions you’ll always keep a jar on hand to liven up your meals.
Ingredients
- 1 large red onion (very thinly sliced)
- 3/4 cup apple cider vinegar
- 1 teaspoon fine sea salt
- 3 Tablespoons maple syrup
Instructions
- Place the onion slices in a heat safe container in the sink.
- In a medium saucepan, heat the vinegar, salt, and maple syrup over medium heat. Bring to a simmer.
- Pour the vinegar mixture over the onions, and press the onions down using a utensil to mix it with the liquid and pop any air bubbles.
- Let rest for 30 minutes to come to room temperature.
- Store in an airtight container in the fridge.
Notes
This recipe is not intended for canning. This is a “refrigerator pickle” recipe. It has not been safety tested for canning purposes, so please use another recipe for that purpose!
These onions will be the best for the first 2 - 3 days in the fridge, but they will last for up to 2 weeks.
You can substitute the maple syrup with honey or granulated sugar if you want to (I just prefer it with maple).
If you prefer these more tangy and acidic, you can substitute half of the apple cider vinegar with distilled white vinegar. You could also omit 1 Tablespoon of sweetener for a more tart taste.
This recipe doubles beautifully if you want to make more! Just make sure you’ve got a large enough mason jar.
Nutrition Information:
Serving Size:
1/6Amount Per Serving: Calories: 42Carbohydrates: 9.2gNet Carbohydrates: 8.8gFiber: 0.4gSugar: 7.1gProtein: 0.3g
Nutrition information isn’t always accurate.
I’d love to hear what you thought of this recipe in the comments or on Instagram! @KeyToMyLime #KeyToMyLime
Click here to pin this recipe for later!
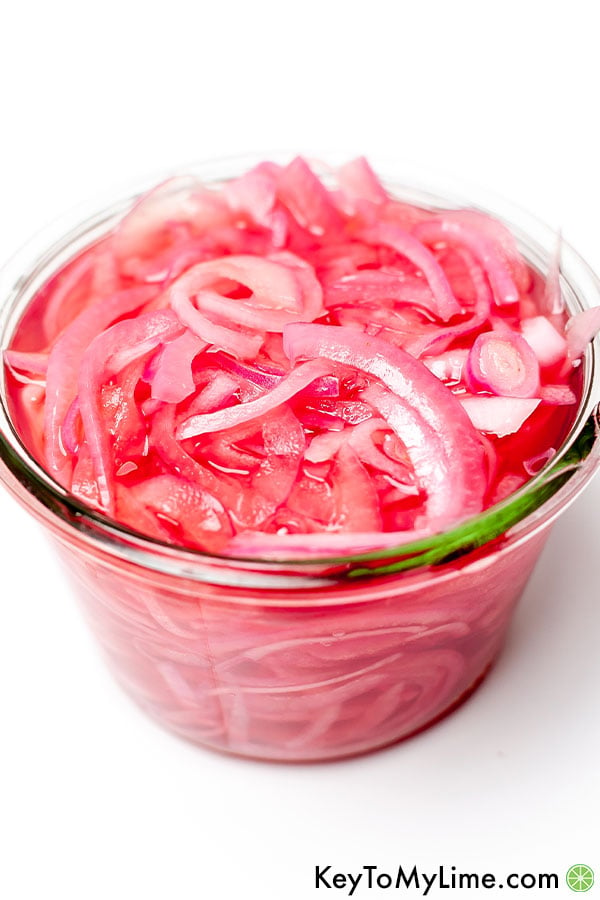
Try making this easy stovetop recipe! These quick pickled onions will help make your dinner so much more delicious.
